Soap Molds
-
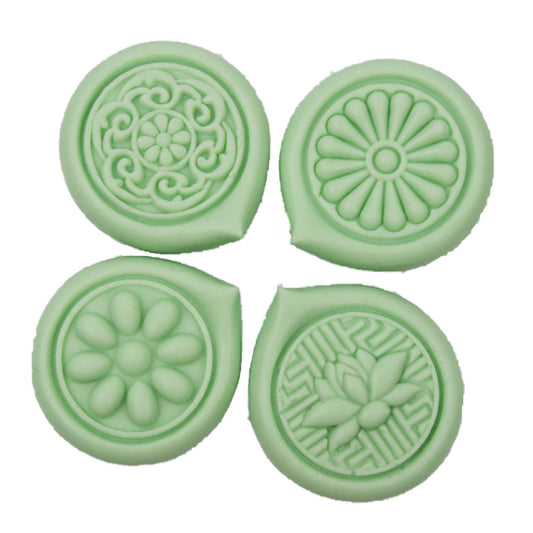
Flower Shape Craft Silicone Soap Mold
Regular price $12.99Regular price -
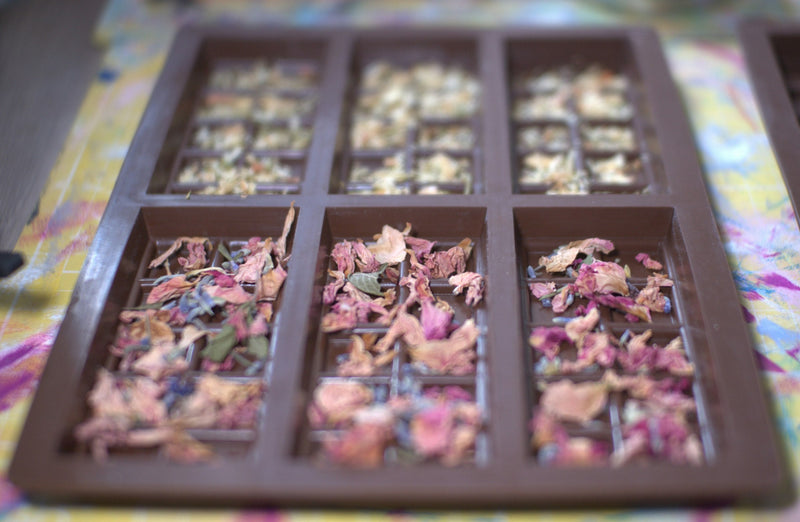
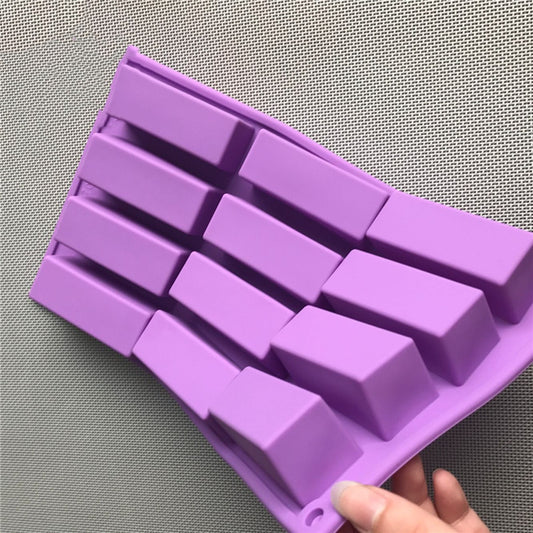
12-Cavity Rectangle Silicone Soap Mold for Guest-Size Bars
Regular price From $17.99Regular price -
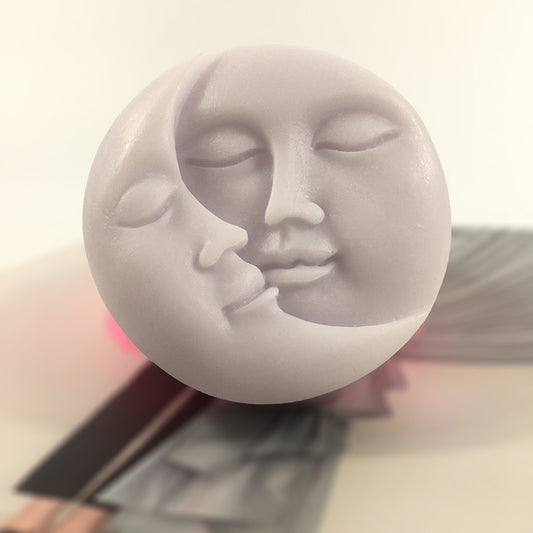
Sun and Moon Face Silicone Soap Mold
Regular price $19.99Regular price -
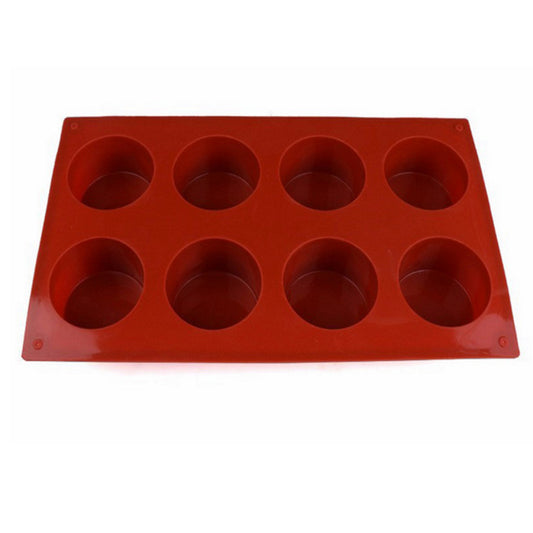
8-Cavity Round Silicone Soap Mold for Melt & Pour and Cold Process
Regular price $15.99Regular price -
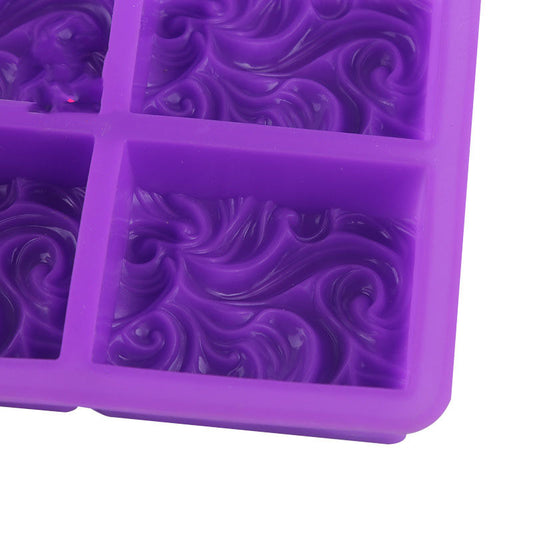
4-Cavity Swirl Rectangle Silicone Soap Mold
Regular price $18.99Regular price -
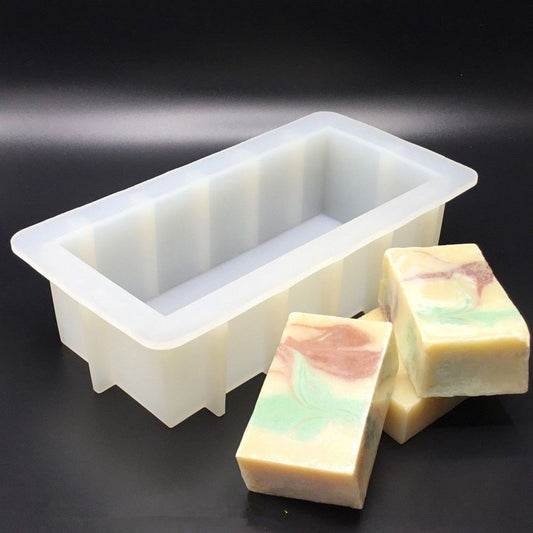
Silicone Loaf Soap Mold with Reinforced Walls for Cold Process Soap
Regular price $19.99Regular price






- Secure checkoutEncrypted by Shopify
- Free US shippingOn orders $50+, always tracked
- 30-day returnsOn unused items
- Real helpEmail answered by people
How to choose a soap mold
Loaf molds are the go-to for cold process soap. You pour one large loaf, let it set for 24 to 48 hours, then cut it into even bars with a soap cutter. Look for reinforced walls so the sides stay straight when the mold is full.
Multi-cavity molds (4, 8 or 12 bars) skip the cutting step entirely. They are ideal for melt and pour soap, guest bars, samples and favors, and they give every bar the same size and weight.
Decorative molds press a design into each bar, such as a swirl, a sun and moon face or a botanical pattern. They show off best with melt and pour bases and a touch of mica.
Why silicone?
- No liner or parchment needed. Silicone peels away cleanly.
- Heat-safe for melt and pour and for gel-phase cold process.
- Holds fine detail and lasts for hundreds of pours.
- Easy to wash with warm, soapy water.
Tips for a clean release
- Set flexible molds on a flat board or tray before you pour so they don't bend when you move them.
- For melt and pour, spritz the surface with rubbing alcohol to pop bubbles.
- If cold process soap sticks, wait another day, or pop the mold in the freezer for an hour before unmolding.
Planning a batch? Work out your oils, lye and water with our free soap calculator.
The Soap Club
New here? Take 10% off.
Join the Soap Club for your welcome code, plus recipes and technique tips about twice a month.
- 10% off your first order
- Free printable beginner checklist