How to Keep Soap Batch Notes You Will Actually Use
Share
You made a batch you love. Three weeks later, you can remember the color, but not which mold you used, how full you filled it or why the last two bars looked different. A simple batch notebook saves those details while they are still easy to recall.
You do not need specialist software or an elaborate binder. One page per batch, a short label and a few consistent photos can give your next project a much better starting point. Here is a manageable system for a hobby maker, with room to grow as you make more soap.
Give every batch a name you can find again
Start with a unique batch code. A date followed by a letter works well: 2026-10-11-A for your first batch that day, then B if you make another. Put the same code on the notebook page, the tray holding the bars and the folder or album containing your photos.
Add a plain-language name beside it, such as “sage guest bars.” The code keeps two similar batches separate; the name helps you recognize the project at a glance. Keep the labeling method consistent rather than inventing a new naming system each weekend.
Record the exact recipe or base
Write down the process and the source of your recipe, including the version or date if you have revised it. For a purchased melt-and-pour base, record the supplier, exact product name and the lot or batch number printed on its packaging. Keep relevant supplier instructions with the record.
List actual measured amounts, with units, rather than writing “same as last time.” If you use a separate recipe sheet, give it the matching batch code and attach it or link to it. A notebook should make the information easier to recover without requiring you to reconstruct several earlier pages.
This record supports your process; it does not validate a recipe or establish that a batch is ready to use. Follow a complete, appropriate recipe and the ingredient suppliers' directions. Do not treat the appearance of the bars or a previous successful batch as a substitute for those instructions.
Include the mold and the practical fill level
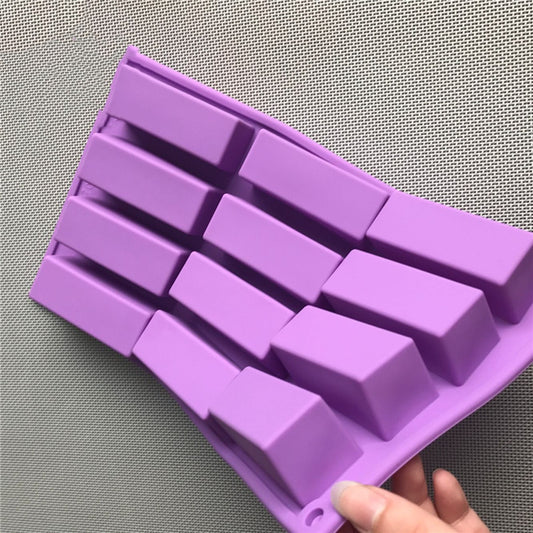
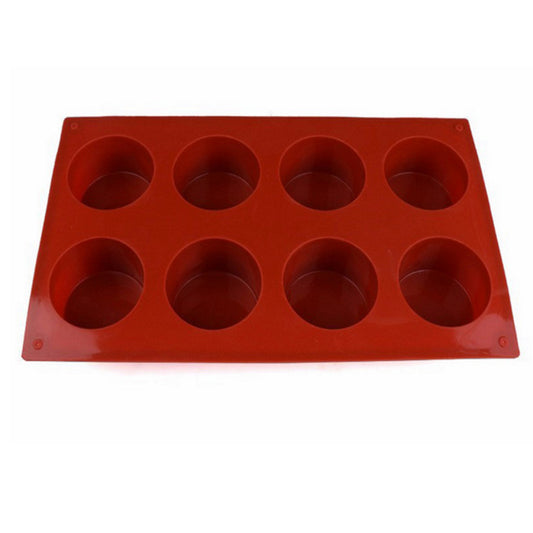
A mold's outside size does not tell the whole story of your batch. Note the exact mold, the number of cavities filled and any unused mixture. Describe the fill level in a way you can repeat, and take a quick overhead photo if it is useful.
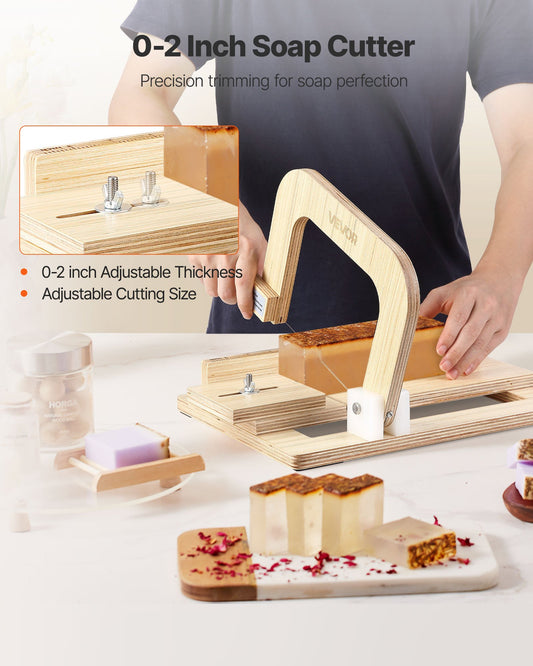
If you use our 12-cavity guest-bar mold, for example, record how many cavities you actually filled. A partly filled tray should not become a mysterious yield difference when you revisit the recipe. For a loaf, note the cutting arrangement and intended bar thickness.
Our loaf-versus-cavity mold guide can help if you are still choosing your format. Once you have one, your own batch notes become the most relevant reference for how you use it.
Separate what you planned from what happened
Divide the page into two small areas: plan and observations. In the plan, record the design, ingredients and equipment you intend to use. In observations, record what actually happened, including a change of mold, an interrupted pour or a different cut.
Use precise descriptions. “Second color added after first layer had set” tells you more than “layering was tricky.” “Two cavities filled lower than the others” is more helpful than “uneven batch.” You are collecting clues, not writing a polished diary.
Record dates at the relevant stages in your chosen process rather than imposing one timetable on every recipe. Leave space to add observations later. A page completed on pouring day can miss the details that become visible after unmolding, cutting or the recipe's specified finishing period.
Take a repeatable set of photos
Three views are usually enough to start: the filled mold, the unmolded or cut bars, and the finished appearance at a clearly recorded later date. Photograph the batch code beside the bars or include it in each filename.
Use a similar spot and light when you want to compare batches. A warm evening lamp and a cool window can make the same bar appear different. Photos are useful visual records, but avoid drawing conclusions about a formula from color alone.
Write one useful change for next time
Finish the page with a single sentence beginning “Next time.” Perhaps you want a shallower fill, a different slice thickness or more room on the tray. Pick one clear design or workflow change so you can tell whether it helped.
Keep the original record when you make a revised version. Link the new batch back to it, rather than crossing out history until you cannot tell what happened. A result you did not love may still contain the answer to a question you have later.
A one-page layout to copy
- Identity: batch code, name and date.
- Materials: recipe or base, suppliers, lot references, measured amounts and units.
- Equipment: mold, fill level and cutting setup if used.
- Observations: actual steps, changes and dated follow-up notes.
- Result: bar count, relevant measurements, photo filenames and one next-time change.
Begin with your next batch, even if your earlier ones are undocumented. The best notebook is the one you will keep using: short enough to finish, clear enough to understand later and close enough to your workspace that recording a detail feels easy.