Loaf Mold or Cavity Mold? Choose Your First Soap Mold With Confidence
Share
The prettiest mold is not always the easiest one to start with. A tall loaf gives you a beautiful row of sliced bars, while individual cavities turn out finished shapes without a cutting step. Both can belong in a soap maker’s cupboard. The useful question is which one makes your next batch simpler.
Before choosing, picture the finished bar, where the filled mold will sit, and what happens after unmolding. That small bit of planning helps you buy a mold you will actually use.
Start with the bar, then work backward
Decide whether you want a full-size everyday bar, a small guest soap, a round shape or a decorative gift. Hold an existing bar you like and measure it. A product photograph can make a small cavity look generous, and a large tray can still contain modest-size cavities.
Read the inside dimensions of the mold or each cavity, not just the outside dimensions. If the listing gives a finished weight, treat it as an estimate until you have made and weighed your own batch. Your formula and fill level affect the result.
Choose a loaf mold when the cut is part of the design
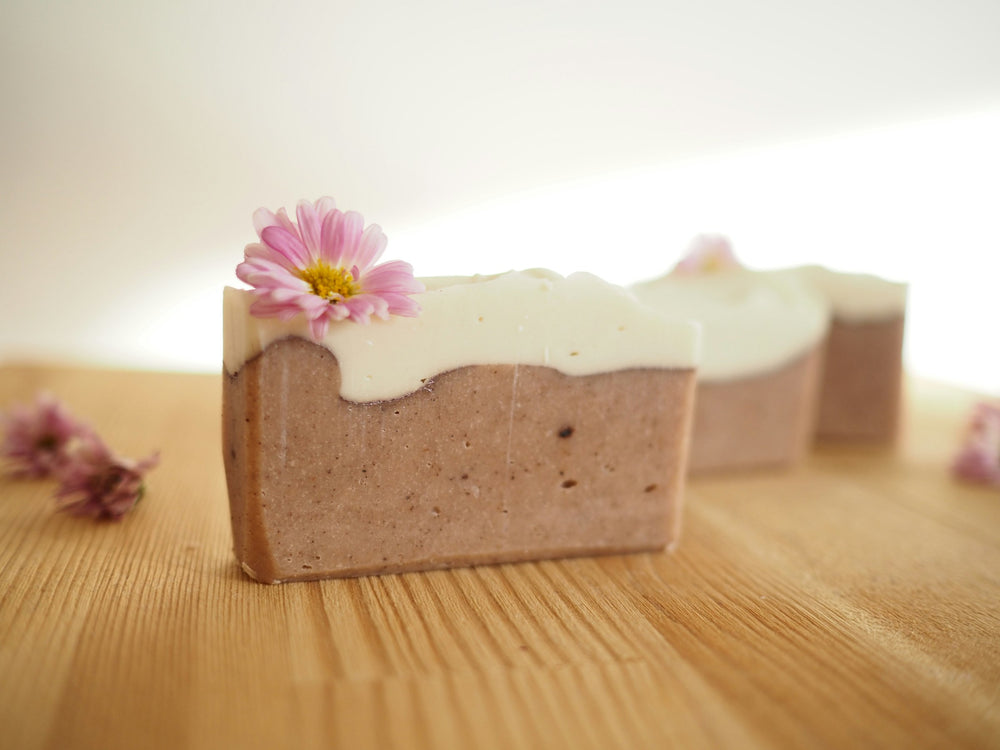
A loaf mold makes one larger piece that you divide into bars. It suits makers who enjoy revealing a design with each slice, experimenting with bar thickness, or keeping a repeatable rectangular shape across several batches.
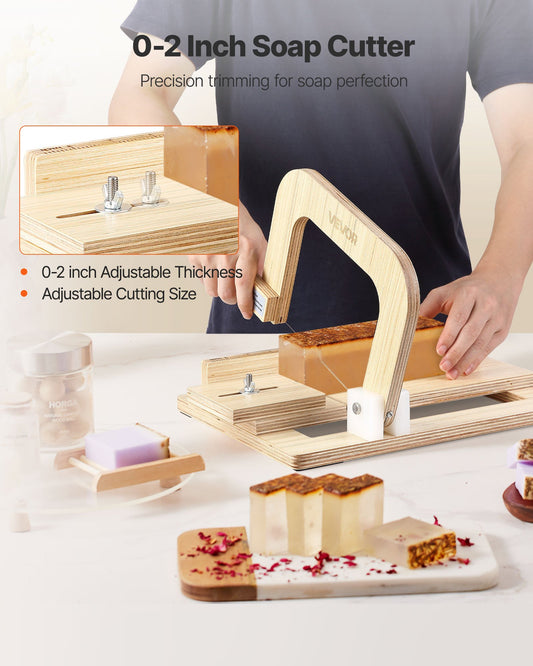
The trade-off is another stage of work. You need a suitable cutter, a clear cutting surface and a plan for measuring consistent slices. If a loaf is ten inches long and you want one-inch slices, ten is the theoretical count before any end trimming. It is planning arithmetic, not a promise about a particular mold’s yield.
Our reinforced-wall silicone loaf mold is one format to compare. The bamboo loaf mold and cutter kit combines a supported liner with a cutting guide. Check the listed components before buying additional tools.
Choose cavities when you want to skip slicing
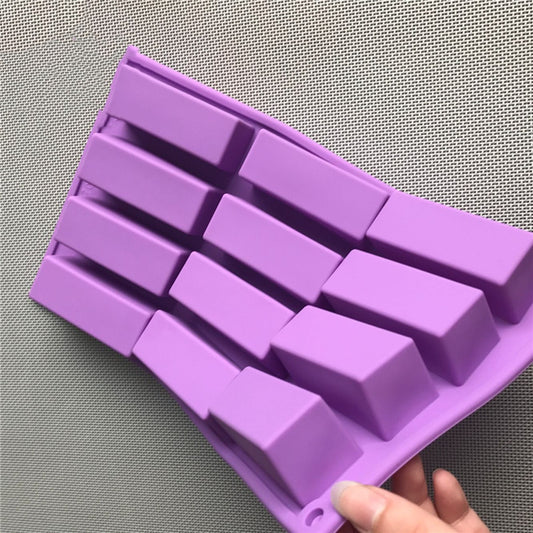
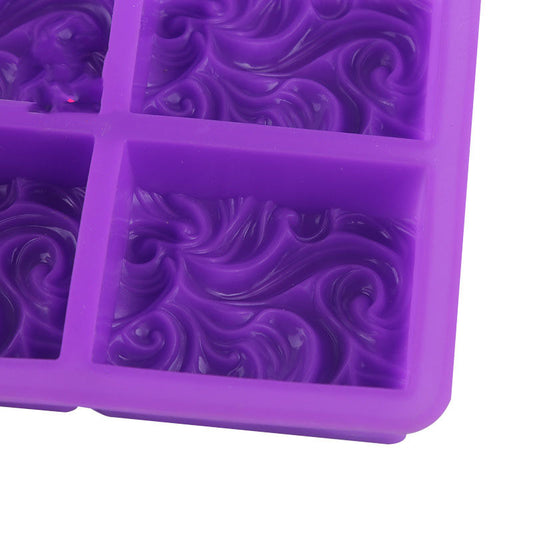
Individual cavities shape each bar separately. They are a practical starting point for guest soaps, round bars and embossed designs. The mold determines the outline, so you can focus on consistent filling rather than measuring cuts.
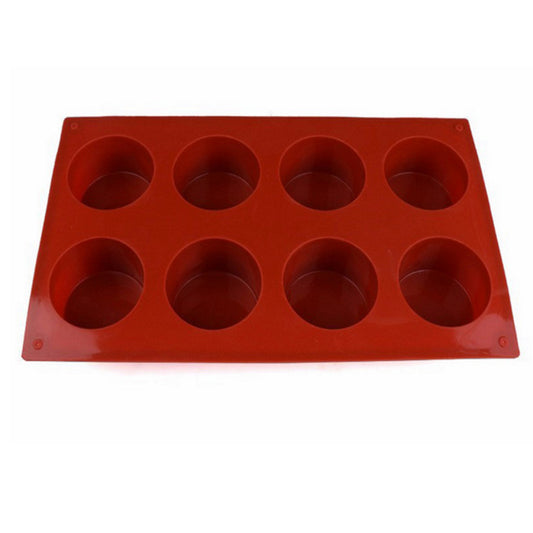
For example, a guest-size rectangle mold serves a different purpose from an eight-cavity round mold. More cavities do not automatically mean more soap by volume. Compare cavity dimensions and your intended batch before deciding.
Cavity trays also take up horizontal space. Measure the shelf or tray where the soap will set, including enough room to lift the mold without squeezing neighboring bars. A mold that fits in a drawer may still be awkward on your pouring surface.
Match the mold and cutter to your method
Confirm that the manufacturer identifies the mold as suitable for your soap process and intended temperatures. Do not assume every flexible craft mold has the same material specifications.
Cutting tools need the same attention. Equipment manufacturer SoapEquipment distinguishes its melt-and-pour cutters from its cold- and hot-process systems, because the harder material needs a different cutting design. That does not mean every maker needs a powered cutter. It means a wire cutter should not be assumed suitable for every soap.
If you want to avoid that compatibility question for a small melt-and-pour project, individual cavities remove the slicing step entirely. Follow your base supplier’s heating and unmolding instructions; a mold choice is not a substitute for a complete recipe or process guide.
Check support before the first pour
Place an empty flexible mold on the surface you plan to use. Does it sit level? Can you reach every cavity comfortably? Is there enough room for a rigid tray beneath it if the manufacturer recommends support?
Set up that support before filling. Moving a floppy tray after pouring is much more awkward than moving an empty one. For a liner-and-box system, make sure the liner is seated correctly and that the box is assembled according to its instructions.
Make a tiny batch record
Your first use of a mold is a chance to learn its practical capacity. Record the mold name, recipe or base, total amount poured, number of finished bars and the fill level you chose. Once the bars are ready for weighing under your process, note their actual weights too.
Take one overhead photo before unmolding and one of the finished bars. Next time, you will have your own reference for how full the mold was and whether the result fit your packaging. This is more useful than remembering that you filled it “almost to the top.”
For a repeatable way to record those details, see our one-page soap batch notes guide, including mold identity, fill level, actual bar count and photo references.
The simple first-mold decision
- Choose individual cavities for shaped bars, guest soaps and a workflow without slicing.
- Choose a loaf for slice-revealed designs and control over bar thickness.
- Choose a supported kit when you want the mold and cutting guide considered together.
Start with one shape you love and one manageable batch. A well-chosen mold should make your next pour feel clearer, not leave you with a shelf full of tools you have not learned to use.