Melt and Pour vs Cold Process Soap: Which Should You Start With?
Share
Every new soap maker hits the same fork in the road: melt and pour or cold process? Both make real, usable bars. Both can be beautiful. But they ask very different things of you in time, tools, safety and patience. This guide lays out the differences honestly so you can start with the method that fits your kitchen and your goals.
When you are ready to make your first batch, browse our soap molds, soap making kits and tools and accessories.
The short answer
- Choose melt and pour if you want to make soap this weekend, work with kids, avoid handling lye, or focus on color, shape and gifting.
- Choose cold process if you want full control over oils and ingredients, enjoy chemistry and planning, and do not mind waiting four to six weeks for bars to cure.
Many soap makers start with melt and pour, learn molds, fragrance and design, then move on to cold process.
What is melt and pour soap?
Melt and pour soap starts with a premade soap base. The chemistry (saponification) has already happened at the factory. You cut the base into cubes, melt it gently, add color and fragrance, pour it into a mold and let it harden.
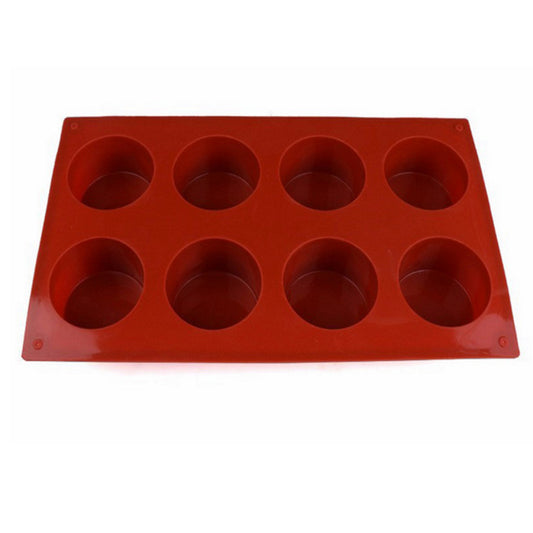
What you need - A melt and pour base (clear glycerin, goat milk, shea, aloe and others) - A heat-safe container and a microwave or double boiler - Skin-safe colorants and fragrance or essential oils - Rubbing alcohol in a spray bottle to pop surface bubbles - A mold, such as our 8-cavity round silicone soap mold
Timeline: about an hour from melting to unmolding. Bars are usable as soon as they are firm.
What is cold process soap?
Cold process soap is made from scratch. You mix sodium hydroxide (lye) with water, combine it with oils and butters, blend to "trace," pour into a mold and let the chemical reaction turn the mixture into soap.
What you need - Sodium hydroxide, distilled water and your chosen oils and butters - A digital scale (every ingredient is weighed) - Safety goggles, gloves and long sleeves - A stick blender, thermometer and lye-safe containers - A sturdy loaf mold such as our silicone loaf soap mold with reinforced walls - A cutter to slice the loaf into bars
Timeline: an hour or two to make, a day or two before unmolding, and about four to six weeks of curing before the bars are at their best.
Side-by-side comparison
| Factor | Melt and pour | Cold process |
|---|---|---|
| Handles lye | No | Yes |
| Start-up cost | Low | Moderate |
| Time to usable bar | Hours | Weeks |
| Ingredient control | Limited to base choice and additives | Total control |
| Design options | Embeds, layers, clear windows, detailed molds | Swirls, layers, natural colors, textured tops |
| Good with kids | Yes, with adult supervision for hot soap | No |
| Learning curve | Gentle | Steep at first |
Safety
Melt and pour is the safer starting point. The main risk is hot liquid soap, which can burn. Melt in short bursts, stir gently and keep children away from the pour.
Cold process involves lye, which is caustic. It can burn skin and eyes, and mixing it with water releases heat and fumes. Always add lye to water (never water to lye), work in a ventilated space, wear eye and hand protection and keep pets and children out of the room. Use a lye calculator to check every recipe before you make it.
Cost
Melt and pour has a low barrier to entry: a block of base, a mold, a few colors and a fragrance. Per bar, premade base costs more than raw oils.
Cold process needs more equipment up front (scale, stick blender, safety gear), but once you own it, raw oils are cheap per bar, especially in larger batches.
Creative control
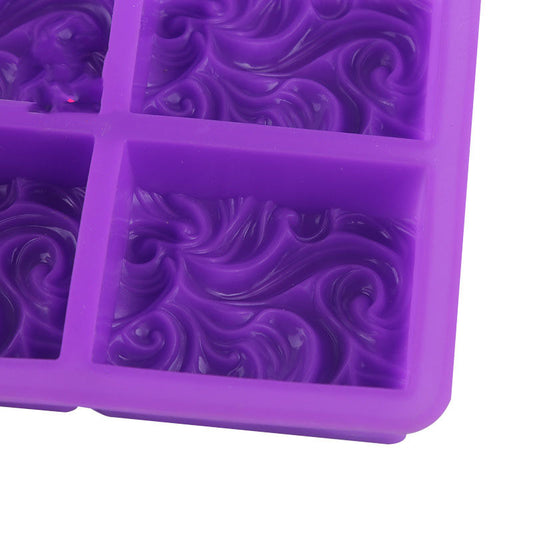
Melt and pour shines with: - Detailed molds that capture fine designs, such as the sun and moon face silicone mold or the flower shape mold - Clear soap with embeds - Crisp layers and bright colors - Fast, consistent results for gifts and markets
Cold process shines with: - Custom oil blends for hardness, lather and conditioning - Natural colorants such as clays and botanicals - Swirls, drop swirls and textured tops - Ingredients like goat milk, beer or coffee in the recipe itself
Molds for each method
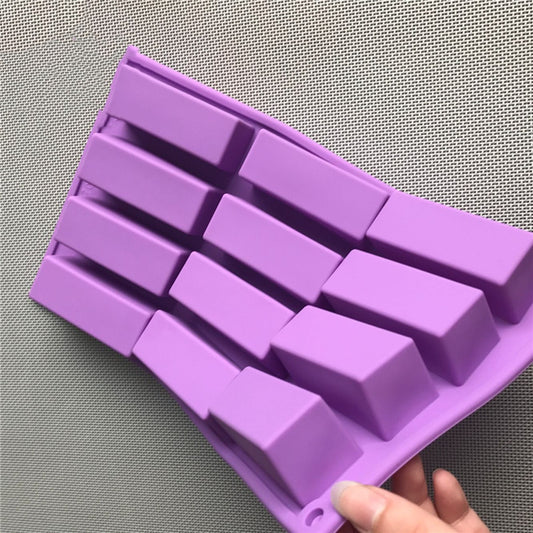
Silicone works for both. For melt and pour, cavity molds such as the 12-cavity rectangle mold for guest-size bars are ideal because you pour straight into individual bars. For cold process, loaf molds are standard because the soap needs insulation and is cut after unmolding. Our guide to choosing a loaf mold or cavity mold covers the trade-offs in depth.
Cutting and finishing
Melt and pour bars come out of cavity molds ready to use. If you pour a loaf, slice it once it is firm.
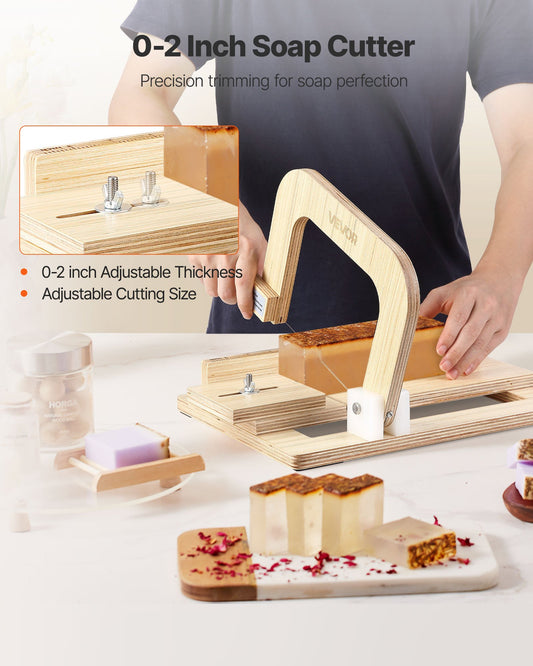
Cold process loaves are cut a day or two after pouring. A wire or straight blade cutter gives clean, even bars. The multi-bar soap loaf cutter slices a whole loaf into even bars at once, and the adjustable wooden soap cutter handles one bar at a time.
Keeping records from the first batch
Whichever method you choose, write down what you did: the base or oils, weights, temperatures, fragrance amount, colorant and mold. When a batch turns out perfectly, you can repeat it. When it does not, your notes show what to change. Our guide on keeping soap batch notes you will actually use includes a simple template. And if a recipe lists fluid ounces, read weight ounces vs fluid ounces before you measure anything.
Common beginner mistakes
Melt and pour - Overheating the base, which makes it rubbery and smelly - Adding too much fragrance or color, which causes sweating or bleeding - Forgetting the alcohol spritz, leaving bubbles on top - Unwrapped bars left out in humid rooms, which collect "glycerin dew"
Cold process - Measuring by volume instead of weight - Skipping a lye calculator check - Pouring at the wrong temperature or trace - Using bars before they have cured
Which method is right for you?
Ask yourself:
- Do I want soap this week? Melt and pour.
- Am I comfortable handling a caustic chemical with care? If not, melt and pour.
- Do I want to design my own recipe? Cold process.
- Am I making gifts for a near date? Melt and pour.
- Do I want to sell handmade-from-scratch soap? Cold process, after plenty of practice.
Frequently asked questions
Is melt and pour real soap? Yes. It has already been saponified. You are reshaping it and adding your own touches.
Can I add oils to melt and pour? In small amounts. Too much extra oil makes bars soft and greasy.
Can I use the same molds for both? Silicone molds work for both. Make sure loaf molds are sturdy enough for heavy cold process batter.
Do I need a kit? Not required, but a kit keeps the first batch simple. Our soap making kit with bamboo loaf mold, liner and cutters covers the mold and cutting side.
Next steps
Start with the method that matches your time and comfort. Pick a mold from our molds collection, check your recipe with the soap calculator, and see our FAQ for shipping and care questions.